
When folks ask me about the impact having 1-to-1 iPads this year has made in my classroom, the very first thing I mention is the iPad’s power in the realm of formative assessment.
When folks ask me about my planning time, and whether it has increased because the iPad is such an amazing tool, capable of amazing things, I offer a resounding YES. Planning time as well as content creation can be a beast when starting from scratch, especially if you have the natural tendency to be very “type A” like yours truly.
However, let me offer you some practical ways to use two of my favorite apps for formative assessment without devoting hours to content creation… minutes, maybe… but not hours. 😉
1. Nearpod “On the Fly”
 I’ll be honest – there’s no such thing as using Nearpod spontaneously! However, if you prepare a presentation or two ahead of time, there’s potential for lots of mileage if they’re created as “templates” rather than subject-specific presentations that can be used once per school year. For Nearpod newbies, this app is a-maze-ing. Upload PDF “slides” to Nearpod’s website, then have fun inserting interactive tools along the way so students can participate. Polls, quizzes, and a drawing feature are among the many interactives. Nearpod brings good presentations to life and makes them great!
One “template” that I’ve mentioned before is for homework review. It’s a way to receive a real-time work sample from every student, which allows them to virtually “go to the board”.
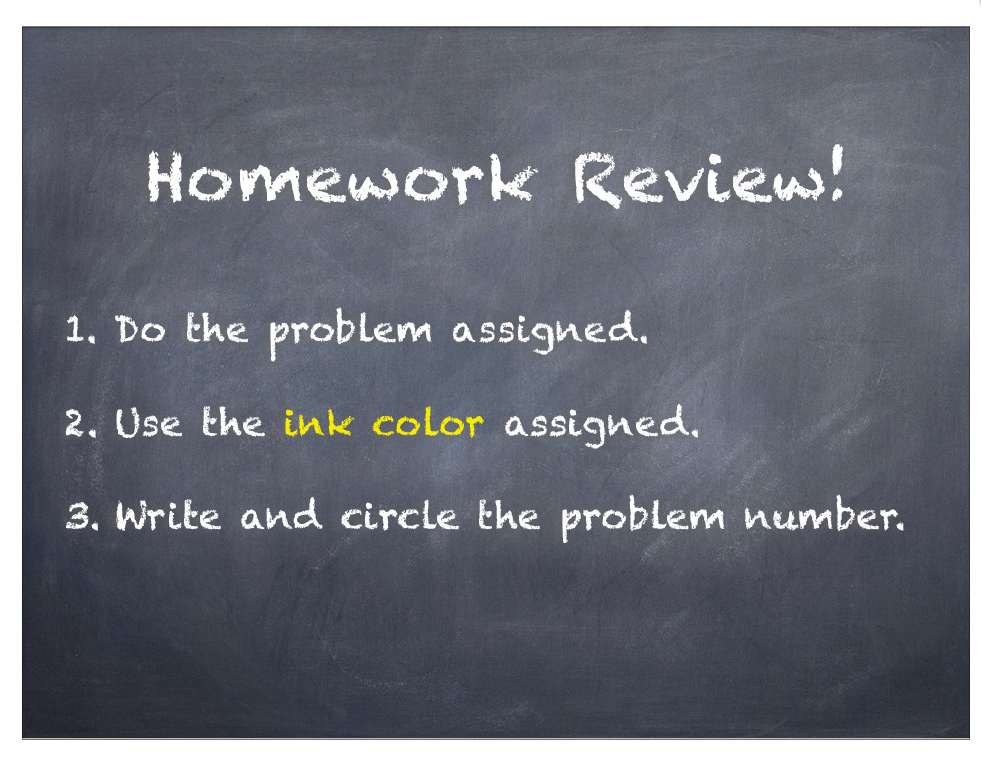 Slide 1: Directions about what’s expected My first slide communicates that I’m about to “assign” students a problem from last night’s homework, and each student will show the work for the assigned problem in the assigned ink color. That way, I can easily scan their work samples and see that red ink means I am looking at a thumbnail of work for problem #1, blue ink means problem #2, and so on.
Slide 2: Nearpod asks for students’ names. It just does. And that’s good, because now you, as the teacher, know whose work you’re looking at.
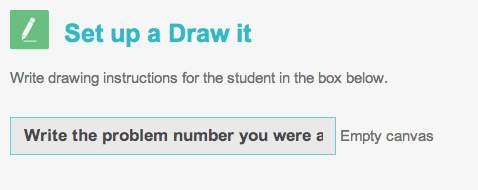 Slide 3: Use the Interactive Drawing Tool. Generally, I choose 3 problems to focus on from last night’s homework, and assign each of the 3 problems to two rows of students (6 rows in my wide and shallow classroom).
So, rows 1 and 4 may be assigned problem #3 to work out in red ink.
Rows 2 and 5 show work for problem #7 to work out in blue ink.
Rows 3 and 6 show work for problem #10 to work out in black ink.
Students know they are not to draw anything that might identify their work as their own, and not too much silly stuff (doodles that could be distracting). Once all students have submitted this work sample to me, I scan all the #3s in red, and “push” a few work samples to students’ screens for discussion. Likewise for #7s and #10s. I select a few correct as well as incorrect work samples to guide discussion. This immediate compare-and-contrast is good for the brain while preserving the identities of students… unless, of course they are like my 8th graders who get very excited to see their own work samples appear on the screen… and tend to blurt out, “That’s MINE! Wait… it’s wrong… oh well!” Using Nearpod in this way has contributed to the atmosphere of celebrating mistakes as learning opportunities, so we are able to “keep it real” when we need help with content.

Slide 4: A “The End” Slide Nearpod requires that the last slide of a presentation NOT be interactive, so thank students or write something clever and/or general here to end the show.
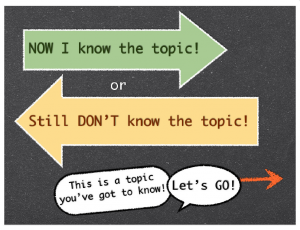
Another way to (almost) use Nearpod on the fly is to create a “template” for assessing prior knowledge about a topic. I call mine “New Topic, or Old Topic?” This is easy to use when you have a hunch the concept you’re about to teach is not brand new to students, and you want to gauge their understanding, or lack thereof, before instruction.
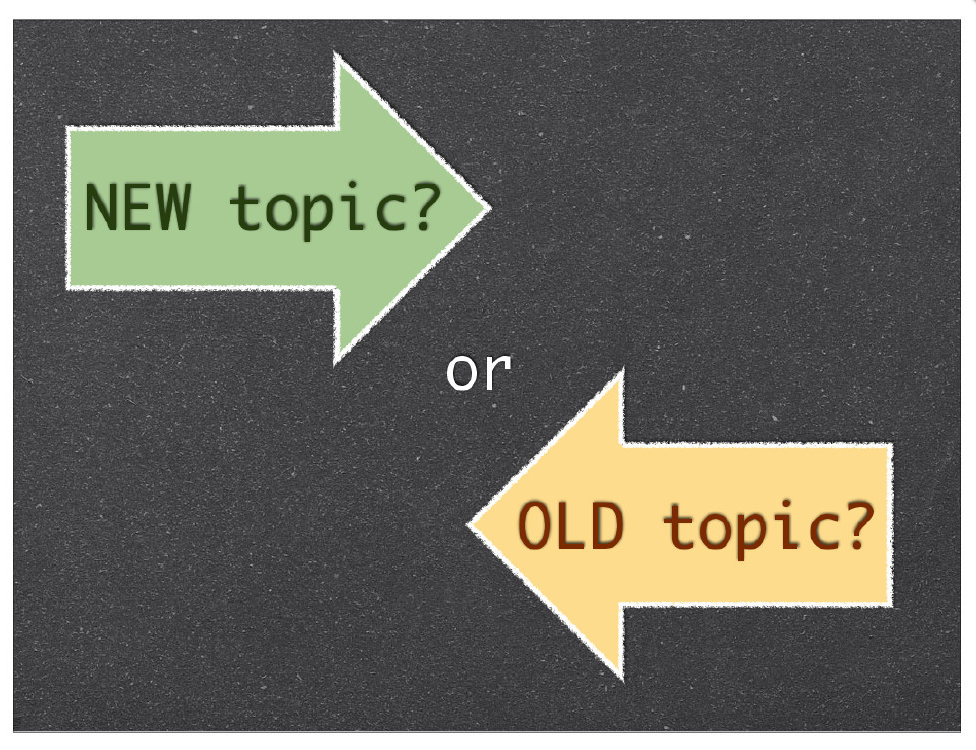 Slide 1: Title Slide – I call it NEW TOPIC? or OLD TOPIC?
Slide 2: Students enter their names, per Nearpod. Thank You, Nearpod.
Slide 3: Student Poll I love asking students to rate their own level of understanding, and then see if their self-rating matches the work and/or  explanation they give. A Nearpod Poll gives a quick snapshot to the teacher, and is always fun for the students to see. Unfortunately, to anonymously show Nearpod poll results, I must place my iPad under the doc cam and zoooooom all the way in to the upper-right corner of the screen so students can see the circle graph representing poll results without seeing individual responses. A little clunky, and I hope Nearpod adjusts the poll feature so students are able to see it better than this. Students LOOOOVE real-time data that represents opinions of their peers!
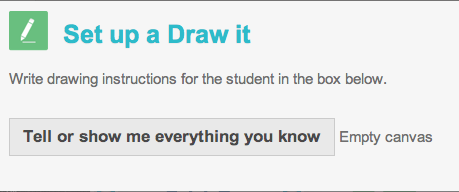 Slide 4: Draw Tool to Create a Work Sample I used to stop at the two-minute paper idea of “Get out a sheet of paper and for two minutes, write everything you know about_________.” This is the same idea, but much better
 because of the ability to share work samples (anonymously) with students via their iPad screens. I get a glimpse of what students already know, and so do they.
Slide 5: A Non-Interactive “The End” Slide, per Nearpod
Socrative is another formative assessment favorite!
2. Socrative “On the Fly”
![]() Socrative is great for gauging how students did on their homework as well. If all you’d like to know, as the teacher, is whether students are in agreement about their answers to specific problems, but you aren’t picky about knowing which specific students provided the answers, this may be your best bet for a quick homework check.
Socrative is great for gauging how students did on their homework as well. If all you’d like to know, as the teacher, is whether students are in agreement about their answers to specific problems, but you aren’t picky about knowing which specific students provided the answers, this may be your best bet for a quick homework check.
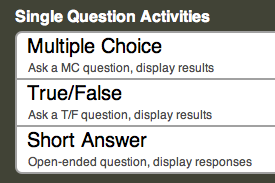
1. The teacher logs in to Socrative and chooses Short Answer.
2. Students enter the teacher’s Socrative room number to join in.
3. The teacher verbally asks all students to enter their final answer for one specific problem.
4. The teacher watches the answers and, after most students have weighed in, projects the answers for the class to see.
5. Discussion and reteaching ensue as necessary.
While it is a bummer that student answers are anonymous, you really can’t beat the immediacy of the feedback! This same process can be used to initiate a class “Tweet” if you will. Verbally ask students a question, and have them type a brief sentence/phrase explaining their thinking. This is a great way to gauge student understanding or prior knowledge of vocabulary and/or concepts.
Want to take it a step further? Before projecting ALLLLL student responses on the big screen, sort through them first, and eliminate duplicate answers by clicking the red “X” next to them. Once you, as the teacher, have whittled down student responses so each one left is unique, you can send the responses as a poll to the class, and students can “vote” on the answer they think is correct or best. Pretty neat “on the fly”!


Pingback: MS Sunday Funday – Grading (or not grading) Homework…? That is the question! | MathyCathy's Blog – Mrs. Cathy Yenca
Oh my goodness… This looks beyond awesome! I had heard of Socrative but never heard of Nearpod. I see SO MANY possibilities and can’t wait to start implementing this in some way, shape or form!
Thank you for this well-written and informative post that has definitely taught me something!
Thanks for stopping by! I adore Nearpod!
If you would like to experiment with Nearpod beyond using it “on the fly” check out the Nearpod “Store”. I have two Nearpod presentations published there that you could use. One is called “Classifying Polynomials” and the other is “Radical Equations”. Free downloads – enjoy!
Pingback: New Resources, Articles, & Ideas for Mid September | Leading Change in Changing Times
This is an awesome article. I’ve used Nearpod in my classroom, but you’ve given me some more great ideas. Thanks!
http://cooltools.kubala.name/2013/11/20/nearpod/
Pingback: Nearpod “Best Practices” For Math Class | MathyCathy's Blog – Mrs. Cathy Yenca
Pingback: Austin-based Educator Uses Homework Huddles | HuddleUp LLC
What a great idea for using Nearpod! The comment I always receive is that it is too time consuming to create Nearpods. Will be passing this along to my teachers.
Thanks Kathy!
Hi Cathy,
I was wondering if you could point me to where all these neat slide designs come from? I don’t have an eye for design and I’ve been told that I have to create Nearpods as part of a professional development service through my place of employment. Is there a place you go to find the basic slide layouts? Any tips other than the homework assignments on basic design? 🙂 Thanks in advance!
Hi Stephanie,
My go-to is always Keynote on a Mac! 🙂 Some folks also like Canva.com (some design elements are free, but others will cost you). Perhaps you can give them both a try and see if you prefer one over the other.